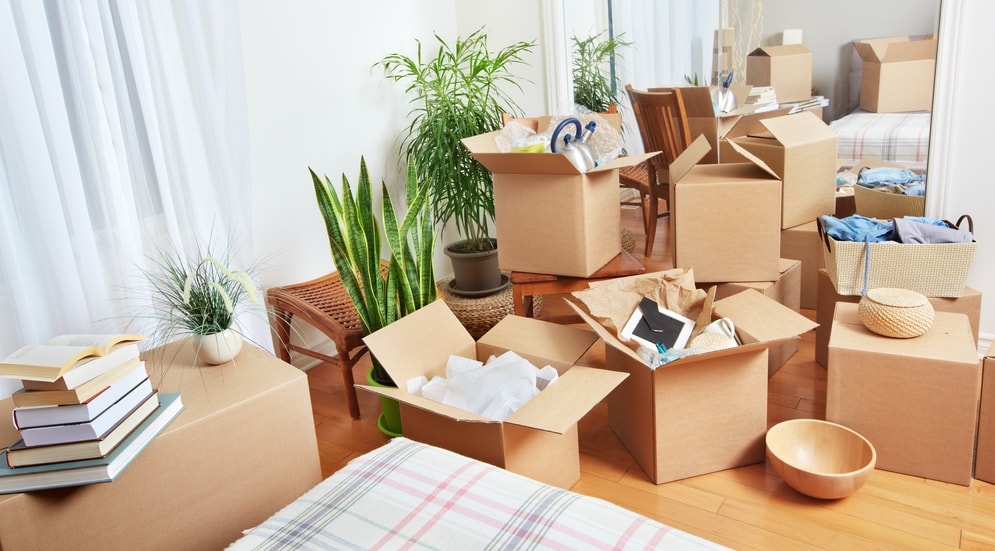
Are you in the process of relocating but dread the thought of packing your food? You’re not alone. Many people find packing their food daunting, especially if they don’t know where to start. That’s why we’ve put together this helpful guide on how to pack your food for relocation.
By following these simple steps, you’ll be able to breeze through the packing process and have peace of mind knowing that your food is securely packed and ready for transport. So let’s get started!
Step 1: Make a list of all the food you have
Before the move, you’ll need to determine how much food you have in the house. When moving, you’ll need a plan to ensure that you don’t throw away food that could have been put to good use.
Once you know what you have, you should be able to figure out where each food item goes. As a result, it’s important to categorize all the food in your pantry and refrigerator (or freezer) into several groups:
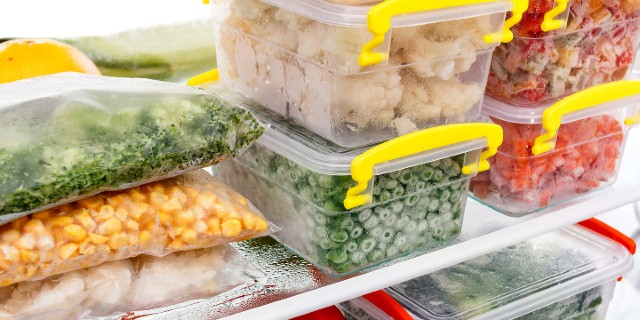
- Meat, vegetables, and other items can be stored in a freezer.
- Things such as eggs, dairy, condiments, and sauces must be refrigerated.
- Many canned foods are available, including fruits, vegetables, and soups.
- In glass bottles, olive oil, spices, bottled fruits, and other foods.
- Cereals, grains, snacks, chips, etc., are packaged in boxes.
- Flour or sugar in paper sacks, for example.
Once you’ve finished your food inventory, you’ll need a strategy for what to do with all the food supplies when you move.
Step 2: Eat as much food as possible before you leave
What are some tips for reducing food waste before moving? The next logical step is to use up as much food as possible before moving day, so there aren’t too many leftovers. You don’t need to cook, take out or order home delivery.
Cleaning the refrigerator is part of the process, and you can decide which leftover food supplies you want to eat, and which ones you can throw away.If you have a lot of food, you may want to invite friends over for a farewell dinner party or potluck. This is also an excellent opportunity to use up those ingredients that are about to expire.
And if you’re moving locally, you can always donate any non-perishable food items to a local food bank.
Reduce the number of times you go to the store and better use the food you already have. To save money, and minimize food waste, cook up the leftovers in the refrigerator instead of going out to eat.
Let each family member find good recipes online and come up with delicious ideas for how most of the perishable items can be cooked before the move to get rid of the food before the move.
To get rid of everything in your refrigerator and pantry, throw a farewell party for your friends.
Step 3: Put the food you’re bringing with you into bags and bubble wrap
It’s normal to want to bring some of your favourite foods with you when you move into a new place. When you arrive at your new home in a new city, you can always stock up on fresh food supplies, but there may be some local delicacies with which you are unwilling to part.
Packing them inside secured ziplock bags will keep them moist, so your chocolate won’t melt, and your pasta won’t get soggy.
When moving, here’s the best way to pack food:
- Because food supplies like canned goods, glass jars, and glass bottles can become too heavy too quickly, use small to medium-sized moving boxes to pack them. Never try to move too much food in one moving box for convenience.
- Use thick, resealable Ziploc bags in cardboard boxes to prevent leaks and spills. Packing sugar, flour, spices, or opened bottles of olive oil and other liquids are excellent for this packing trick.
- If you’ve decided to move any glass containers, wrap them in packing paper and then in bubble wrap.
- Keep perishables like milk, meat, vegetables, and fruits in a cooler to keep them fresh while you’re on the road. If you’re moving within a few hours of each other, this is a good idea. When travelling across the country for an extended period, it is best to avoid bringing any perishable items.
- Each moving box containing food should be labelled if necessary. When you arrive at your new home, you’ll be able to identify and unload any packages that include food quickly.
It is important to remember that food spoils. Refrigerator contents would be the last to be packed and the first to unpack.
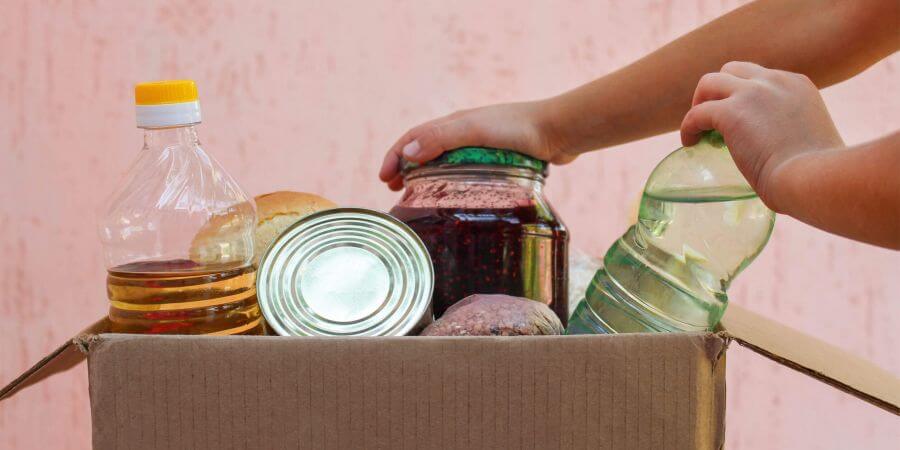
Step 4: Give away food that won’t spoil to a local food bank
Assuming you’ve learned how to pack food for a move correctly, the next logical step is to examine the possibility of donating your unused supplies to the community.
More than 23 lbs. of food per person is thrown out (35 lbs. if you count food retail) every month in the average family, according to the findings from a recent study.
In Australia, you can donate unopened, non-perishable food to Foodbank or SecondBite. Non-perishable food includes canned goods, pasta, cereals, and rice.
There are also plenty of charitable institutions in Sydney that would love to receive your donated food, such as the Salvation Army, St Vincent de Paul Society, and OzHarvest.
If you have relatives who live near you, consider giving them some of your non-perishable food items as well.
Step 5: Bring an emergency stash of food with you on moving day
Even if you’ve followed all of the steps above, there’s always a chance that something can go wrong on moving day. It’s always a good idea to have an emergency stash of food with you, just in case.
Ideally, your emergency stash should include both non-perishable and perishable items. Non-perishable items like granola bars, peanut butter, crackers, and dried fruit will last indefinitely and can be eaten without any preparation.
Perishable items like bread, cheese, fruit, and yogurt will only last for a day or two, so make sure to eat them first.
A well-stocked emergency stash will help you tide over until you can go to the grocery store and stock up on food supplies. You don’t need to buy new items from the store, instead use whatever is in the fridge. If you have any special dietary requirements, make sure to pack enough food to last you for at least a few days.
Allow for Eventualities
No matter how well you plan, there’s always a chance that something can go wrong on moving day. That’s why it’s important to have an emergency stash of food with you, just in case.
Ideally, your emergency stash should include both non-perishable and perishable items. Non-perishable items like granola bars, peanut butter, crackers, and dried fruit will last indefinitely and can be eaten without any preparation.
Perishable items like bread, cheese, fruit, and yogurt will only last for a day or two, so make sure to eat them first.
A well-stocked emergency stash will help you tide over until you can go to the grocery store and stock up on food supplies. You don’t need to buy new items from the store, instead use whatever is in the fridge.
Step 6: Discard Food That Could Go Bad
Days before the move, go through your refrigerated and check the expiration dates of everything in there. Toss out anything that’s about to go bad, or anything that you know you won’t be able to eat before the move.
It is easier to sort according to possible spoilage. If it can go bad during the few hours it might take to relocate, then dispose of it. If it can be given to charity, then do so. If it can be eaten beforehand, then serve it for lunch or dinner the day before. When relocating, the best way to do so would be with the least amount of food. You can replenish your stores, and frozen goods when you get to your new address.
The same goes for your pantry – if you have any opened cans of food that are close to their expiration date, it’s best to just eat them or donate them before the move.
This way, you won’t have to worry about packing and moving food that could go bad during the trip.
Travel Time Matters
The time it takes to relocate will affect the types of food you can bring with you. If you’re only moving a short distance, then you can probably get away with packing perishable items like bread, cheese, and fruit. However, if you’re moving a long distance, then you’ll need to focus on non-perishable itemslike granola bars, peanut butter, and crackers.
There is a short window for relocating with perishable food. Typically, frozen food items should not be kept out of freezers for more than 12 hours. This includes defrosting the freezer, an then freezing the food items again.
Planning and Preparing Food for Travel
Packing food for a move can be a challenge, but if you follow these tips, you’ll be sure to have enough to eat during the transition. With a little planning and preparation, you can make sure that your food packing goes smoothly and that you have everything you need when you arrive at your new home.
Inform the Moving Company of the Amount of Food You Have
Be sure to let the moving company know how much food you have so that they can make the appropriate arrangements. If you have a lot of food, they may need to bring an extra truck. If you have plenty of food, they may also need to have a refrigerated or temperature-controlled moving truck.
Moving companies are experts in moving these things and they can help you with your food concerns. They can advise you what to do with the food, and help you with packing them properly.
Conclusion
Packing food for a move can be a daunting task, but it doesn’t have to be. By following the steps above, you can ensure that your food stays fresh and safe during the move.
Do you have any other tips for packing food for a move? Share them with us in the comments below!